Wednesday, August 8, 2012

Real? BABY and Angelic Pretty Nail Stickers

I am not sure if these are real, but they are too cute!

Photobucket

I saw this image posted on the Lolita facebook group. They are nail art stickers for BABY, THE STARS SHINE BRIGHT and Angelic Pretty. How cute would these be if they were real?

As much as I love nail art, it takes quite some time to do elaborate pieces and to replicate a print like this would be near impossible.

Brands to seem to be making more non-clothing/fashion items. Some classic brands such as Innocent World and Victorian Maiden have done things such as mirrors, brushes, etc. in the past.

Lettersets and postcards are common Brand items, as well as stickers that come with mooks.

More recently, BABY came out with washi tape, or paper tape (I believe the English translation labeled it as "masking tape"). Follow the cut for more images!


Photobucket
Rose Bouquet paper tape

Photobucket
Usakumya paper tape

I love love love paper tape! It's super cute and is a lovely way to make your everyday notes cuter! I also like to use it on cards and in my scrapbooks. While US$6 may be a steep price for paper tape, regular paper tape with other cute patterns are readily available at stationery stores.

Photobucket
Here are some pins from BABY :P I remember when pins were the "coolest" thing in high school and everybody had pins with witty sayings or cartoon characters all over their bags. These pins are much sweeter, though!

Do you like Brand stationery/one-time-use items? Some people may find them too precious to use for fear of "ruining" them, but I think I'd really love to own some Brand stationery or nail stickers! Besides, if you take photos of them, you can have the photos forever!

Saturday, August 4, 2012

A Taste of Taiwan~ MiraMar!

On July 29 we had a very casual meetup at one of Taipei's famous places, Miramar Entertainment Park! I would like to share some photos from there.

The most famous part of Miramar is definitely the huge, 70-meter tall Ferris wheel!
Photobucket

The buildings are like giant malls with full of everything from fancy, name brand stores to cheap eats. We ate at a curry place with Indian chefs (very Lolita, I know)

Photobucket
This is my extra spicy spinach curry with naan bread. There may or may not be a print inspired by this dish coming out soon from brands :o Macarons are so last season.

Photobucket
The utensils came in a paper package with a warning to be careful because they are sharp. Well, my dish didn't require a knife, so I actually just had two spoons and a fork in mine :P

In addition to the food, there are some beautiful shops we visited. My favorite was a ceramics store that had gorgeous tea sets and tea trays!

This is a photo of my favorite tea tray:
Photobucket
I wish these weren't so expensive! Though recently on Pinterest (yes, I have fallen into the abyss that is Pinterest) that you can make your own by gluing together candlesticks and plates. I may have to try this!

We also went to Rose House, my favorite afternoon tea shop.
Photobucket

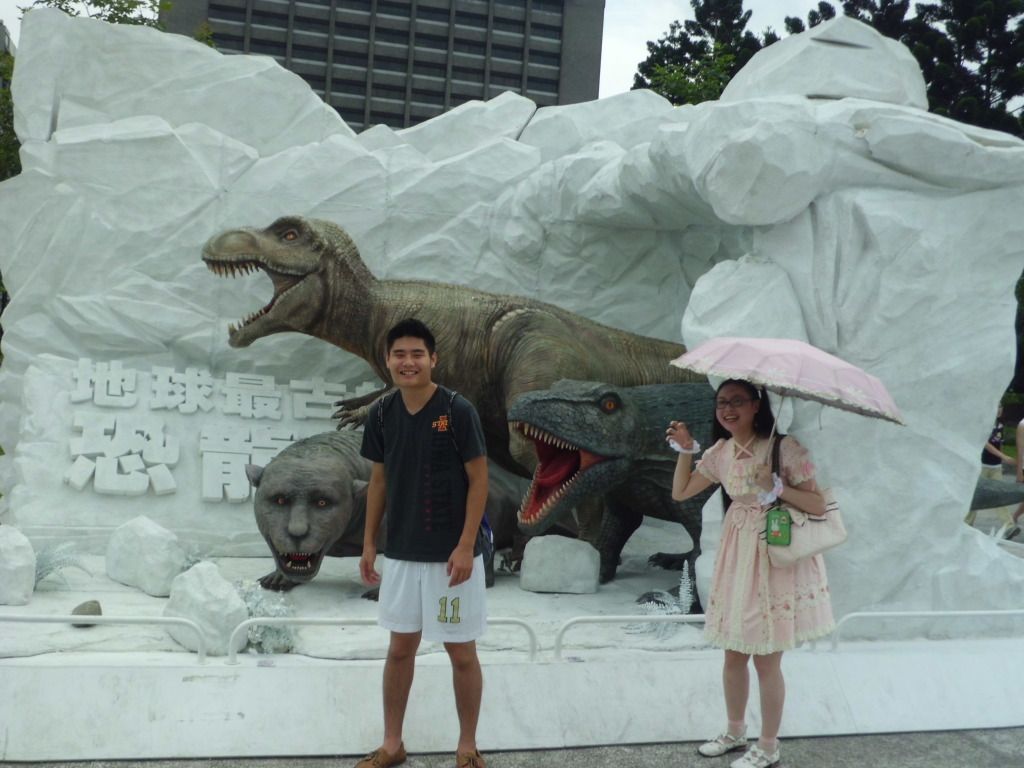
And there is a whole section of shops for children and babies! We went to a shop called "Toy World." I looked for Pokemon goods, but didn't find the Pokemon I wanted. Instead, I took a photo with a dinosaur
Photobucket
The epitome of lifestyle Lolita.

Thank you for reading my blog. I hope you can get a chance to visit Miramar if you are ever in Taipei! The MRT station it is closest to is Jiannan Road Station, right across the street. It is very easy to find!

The Ferris wheel is popular for Valentine's Day. It costs NT$250 to NT$300 depending on when you go, but I would suggest that if you want to ride it to go within the next couple of years. With all the building going on, soon the view will not be as great as the buildings climb higher and higher.

Do you find Ferris wheels to be romantic? I have never been on such a large Ferris wheel! The only one I have ever ridden is the teeny tiny one in Mall of America in Minnesota, USA. Visit that one if you ever get the chance, too! The height of the Miramar Ferris wheel actually scared me a little bit... Perhaps if I find a significant other by Valentine's Day, I will give it a try ^^;

Tuesday, July 31, 2012

Lolita Runway Challenge~ Patterning!

Thank you to those of you who are keeping up with the challenge! I guess it proved more difficult than I had anticipated ^^;

This week we are just checking in with our patterns~

As it turns out, most of us are making dresses that don't need too much patterning :P

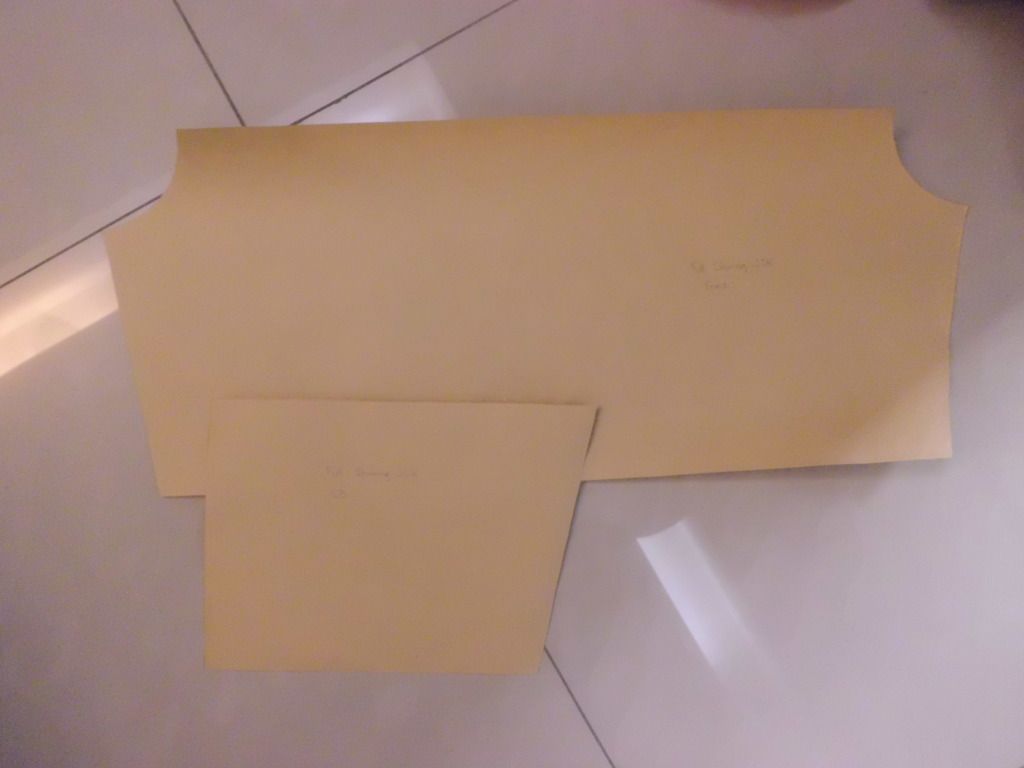
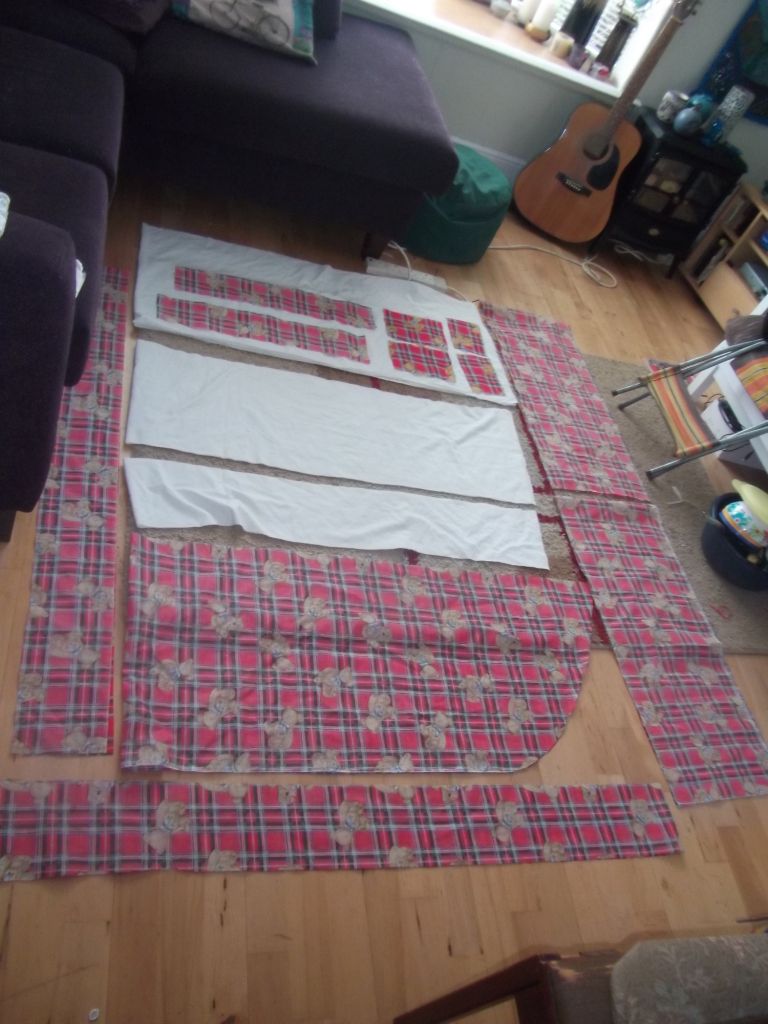
1. Sparklewolfie
Photobucket
This is the bodice pieces. They're enormously long because it's fully shirred. The final dress will be about half that size!

Let's see who else has their patterns done!

2: Miss Rose
Photobucket

7: BlackOnyxHime
Blog Post Here

Late Entry:
4: Eithne
Eithne
Thank you ladies!

The next step is:
Make your dress! Hooray! Here is the fun part! Post at least one in-progress photo, please. I will post the in-progress shot(s) along with the finished photo at the end of the challenge.
Deadline: September 10th

Should you run into any trouble or have questions, feel free to contact me at theabclolita @ gmail.

I cannot wait to see how these turn out!

Tuesday, July 24, 2012

Dinosaurs and Bunnies

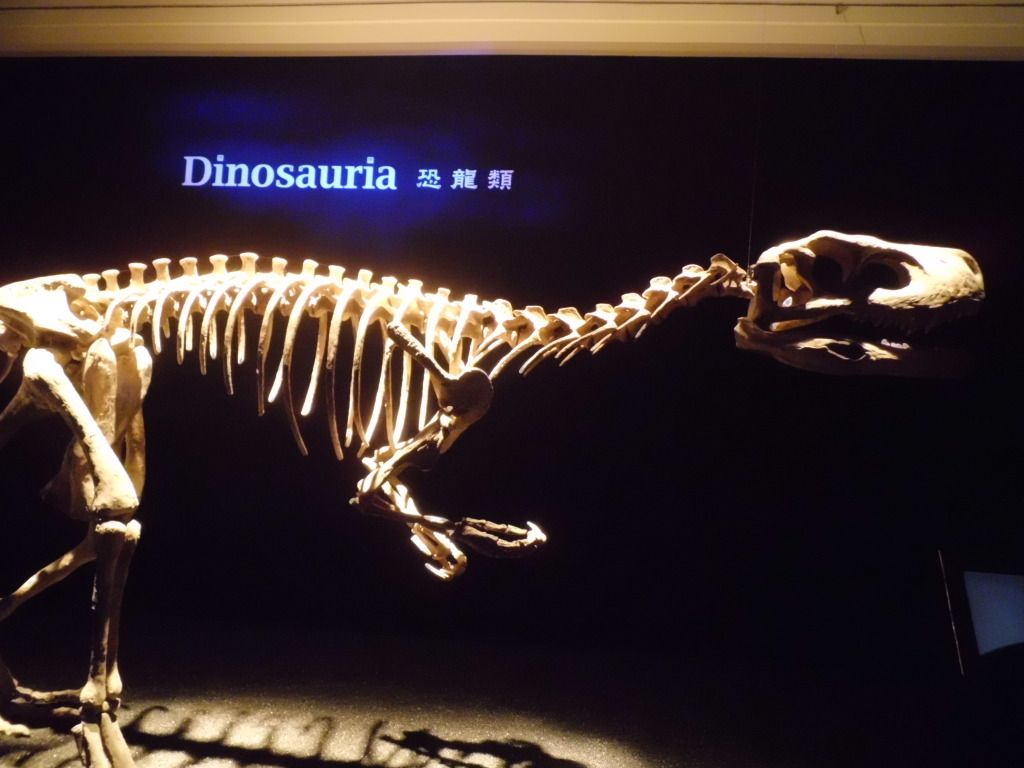
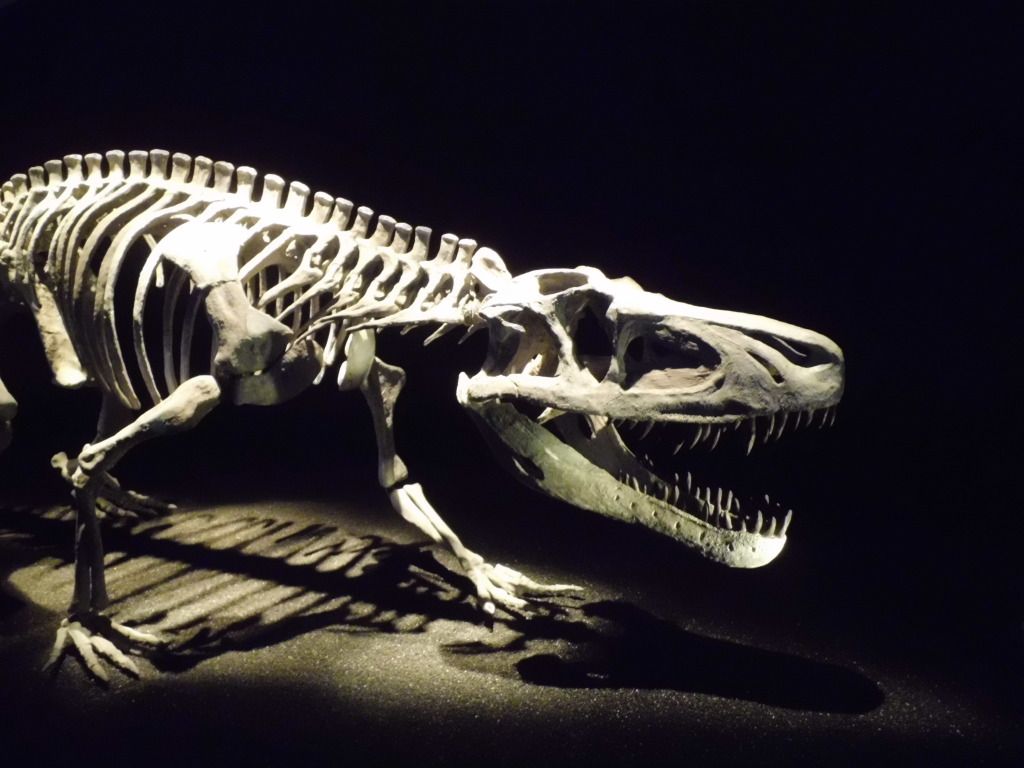
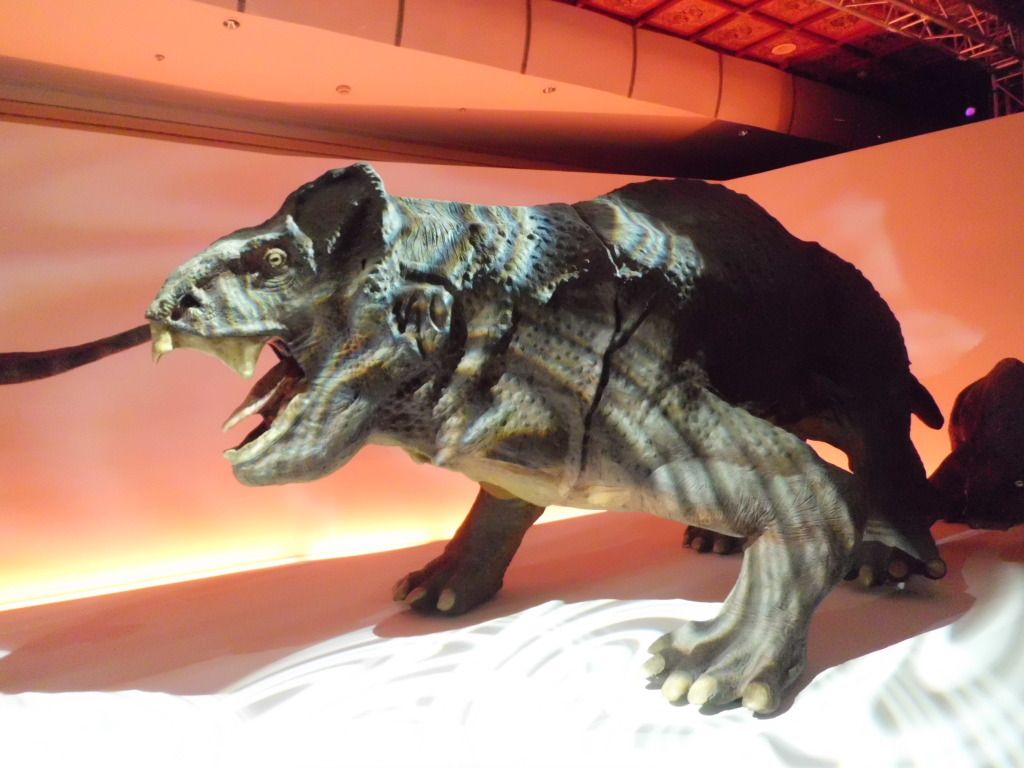
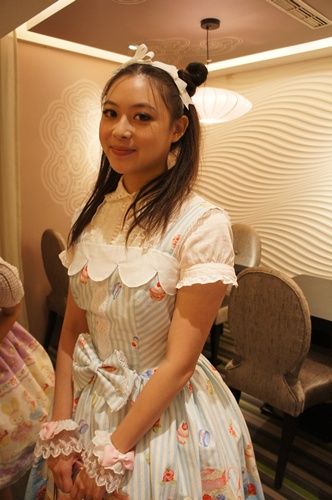
I have a slight obsession with dinosaurs, so I went to see the Dawn of the Dinosaurs exhibit at the Chang Kai-Shek Memorial Hall on Wednesday! Then there was a tea party meetup over the weekend where half of us ended up wearing bunny motif dresses!


Click the photos to make them larger

Photobucket

This is me and my friend in front of the display for the exhibit ^u^ We're making imitation poses.


Photobucket
Dinosaur!

Fun fact: in Chinese, the words for "dinosaur" literally means "scary dragon." In Latin(?) it is "terrible lizard."
Photobucket
Crocodile-type dinosaur!
In Chinese they were called "scary crocodiles"
Photobucket
I am not sure what this is :o Some type of dinosaur!
Photobucket
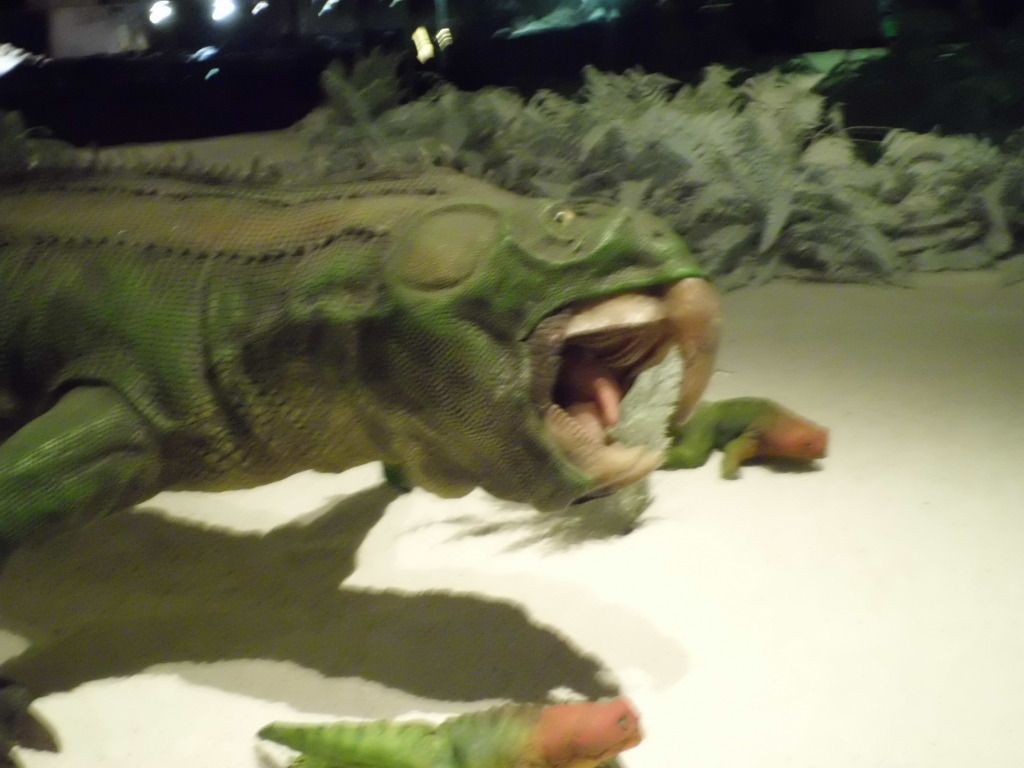
This one is what we dubbed the "Derpasaurus"
Also know as the parrot-frog-iguana
Photobucket
A baby derpasaurus is being eaten
Photobucket
This guy is going to steal the other dinosaur's food!
Photobucket
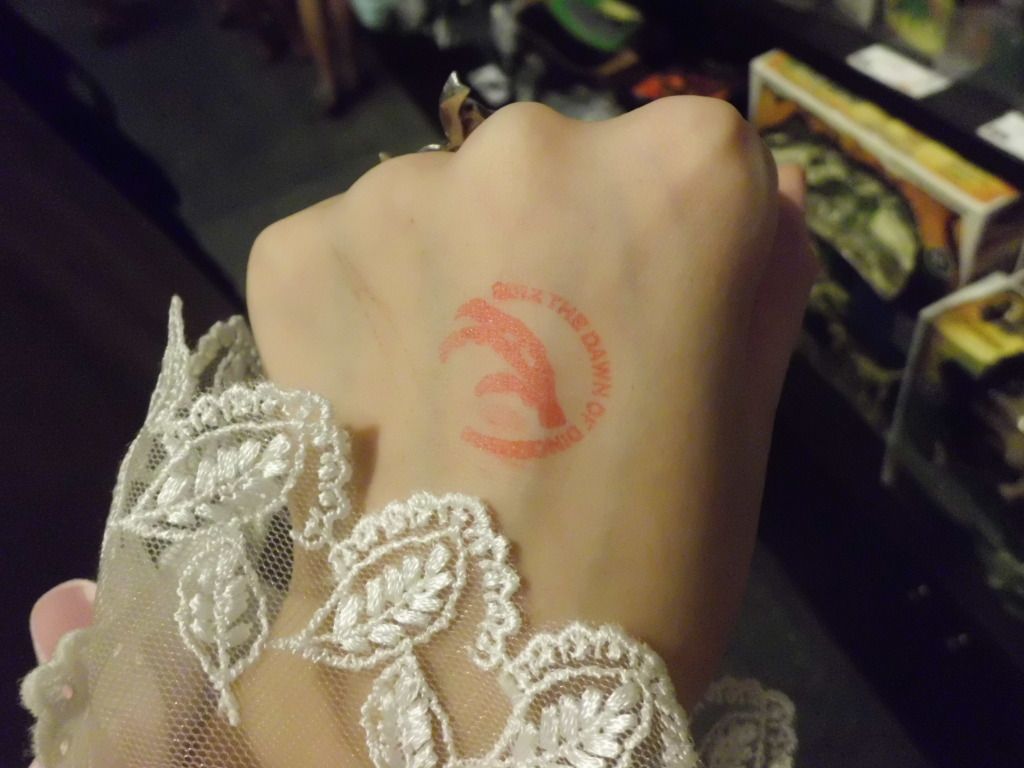
A stamp for returning to the exhibit! I didn't return, but I wanted a stamp anyway!


Photobucket
My outfit for the meetup. I finished this the day of the meetup ^^;
Photobucket
We got this fabric as a group order! Hako and Amelie sent their fabric to a taobao shop (OT) with a design sketch and they made the dresses for them. How nice!
This is a good way to get custom-made dresses made with your own choice of fabrics/ribbon/trims. I'm not sure what other taobao shops offer this service, but it doesn't hurt to ask!
Photobucket
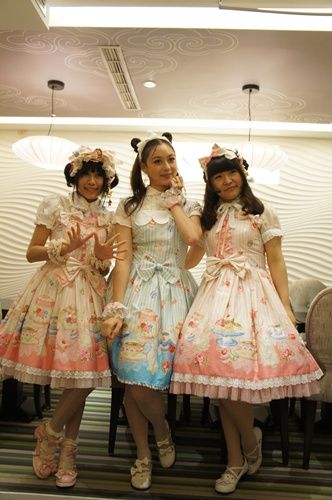
A group photo!

Wednesday, July 18, 2012

Sparkle Stitches~ Scallops

This is a "sewing basics" tutorial for scallops. I'm adding scallops to the bodice of the Bunny Tea Party JSK I'm making, so I decided to do a tutorial on scallops along the way~

Tools Needed:
*ruler
*tailor's chalk or disappearing pen
*protractor or a circle object you can trace
*fashion fabric

Directions:
Click on the photos to make them larger.

1) First, decide how big your scallops are going to be. If it is a bodice or neckline detail, you'll obviously want it smaller. If it is a skirt hem, they'll probably be bigger.

For an equal number of scallops, take your width of fabric and divide it by the number of scallops you want. This will give you the diameter of your scallops.

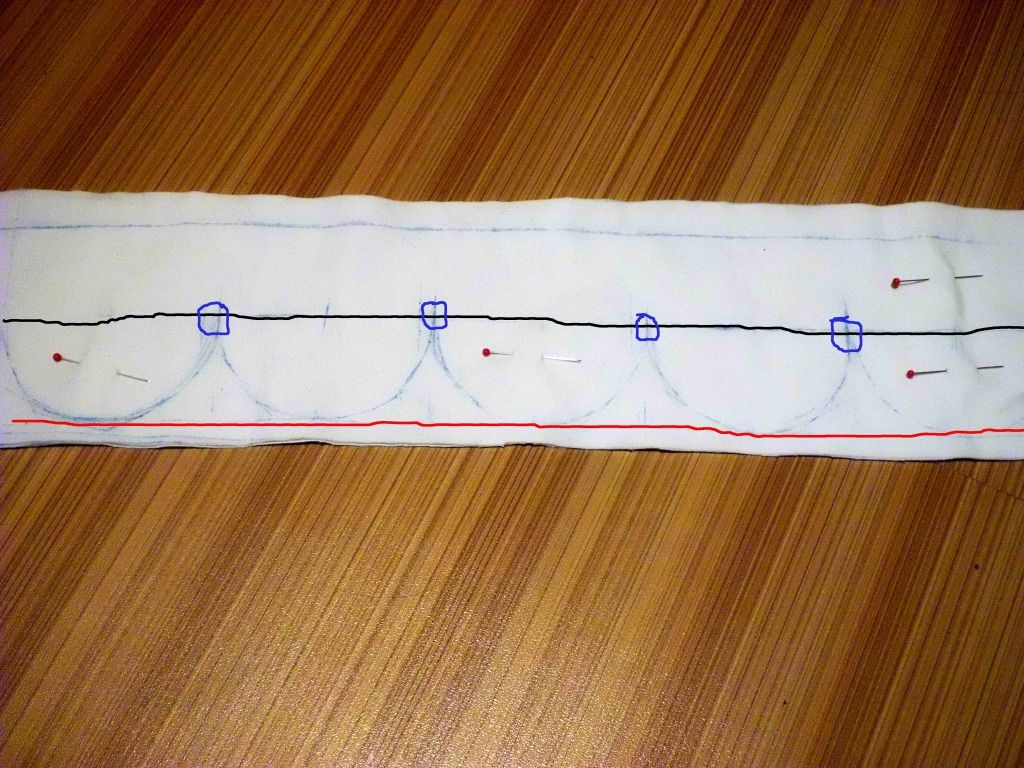
2) Draw your scallops. Halve the diameter to get the radius and set your protractor to the proper size. Another way to do this is to simply find something round (a can, jar, cup, tube, plate, etc.) and trace it on the wrong side of the fabric. Draw a horizontal guideline for where you want the base (red) of your scallop to be and a guideline for where you want the point between your scallops (black) to be. The two guidelines will be x inches apart where x is your scallop radius. The guidelines are really optional, but it keeps everything even ;)
This is your stitching line.
Photobucket

3) Pin your fabric and facing together and stitch right on the scallops you just drew. I find it much easier to trim off the excess after stitching rather than adding seam allowance, cutting out the scallops, pinning them together, and then trying to keep them from moving apart while stitching. Stitching a smooth curve isn't easy, so practice on some scraps, first!

Point!
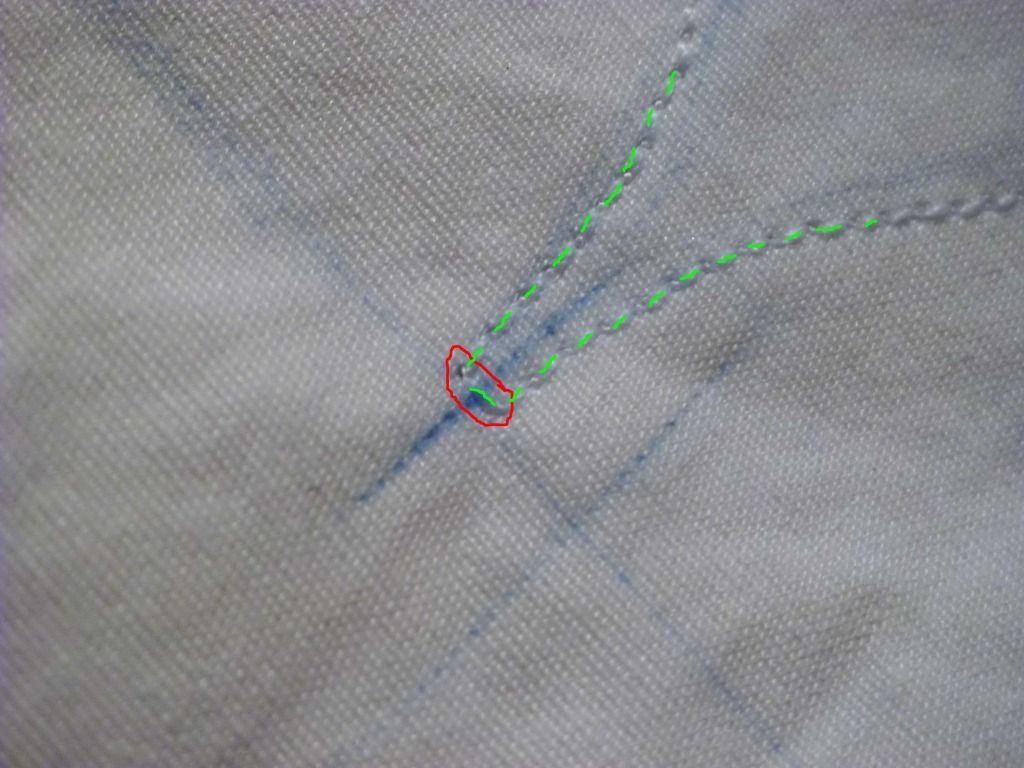
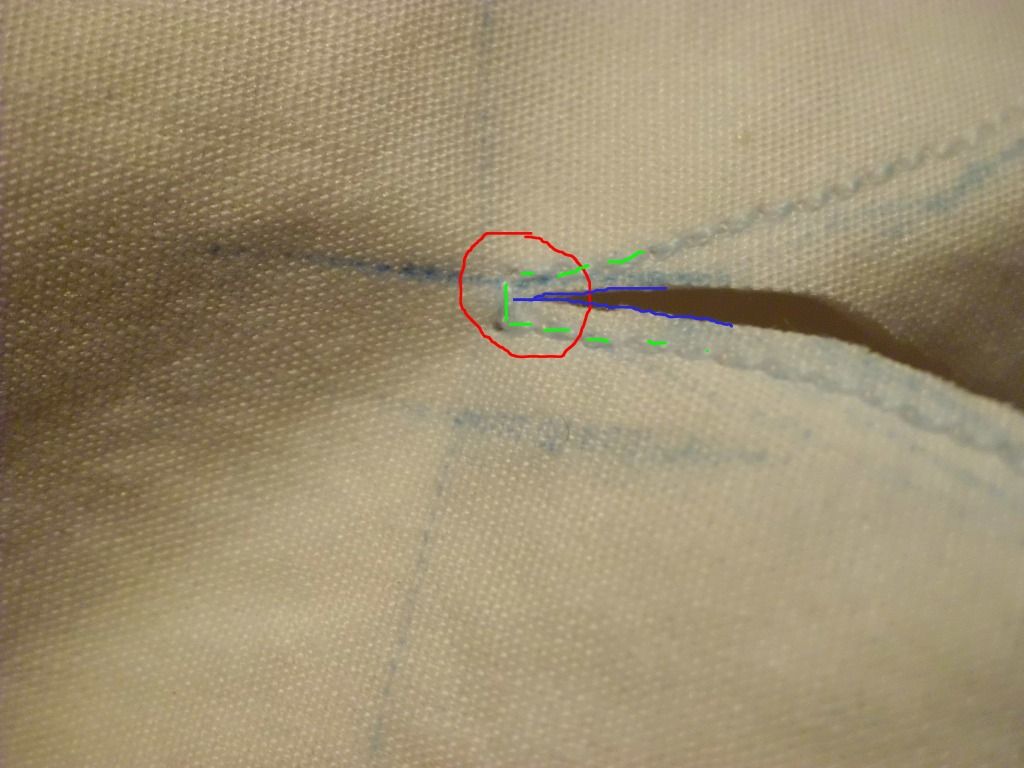
At each "point" between two scallops, take one horizontal stitch. This will help you turn the fabric more easily. If you fabric is thick (e.g., corduroy, velvet, etc.) take two or three stitches as necessary. Try it on scrap fabric first to see how many stitches makes the best scallops!
Photobucket
The stitches are highlighted in green. The turn stitch is circled in red.

4) Trim your seam allowance. There are two ways to do this: You can leave a half-inch of seam allowance and clip notches into your curves, or you can trim your seam allowance close to the stitching. Clipping notches is more time-consuming, but safer. Trimming your seam allowance very narrow is quicker, but if it is somewhere that gets rubbed or pulled a lot, it may come undone.

Point!
At each "point" between two scallops, trim the seam allowance right up to the stitch. Be very careful not to cut through the stitching line or you will end up with a hole! If you don't trim closely enough to the stitching line, your scallops will pucker at each point.
Photobucket

5) Turn your scallops right-side out and press. Now is a good time to check for any puckering between the scallops. If you find any puckers, flip the area wrong-side out again and trim a little closer to the stitching line. Give everything a good press and make sure your scallops look like nice semi-circles. If you made the scallops too deep, they will end up lookin like "flaps" or "scales." If you made them too shallow, it will look like an uneven hem.
Photobucket

6) Topstitch your scallops! I like to edgestitch at 1/8" from the edge.

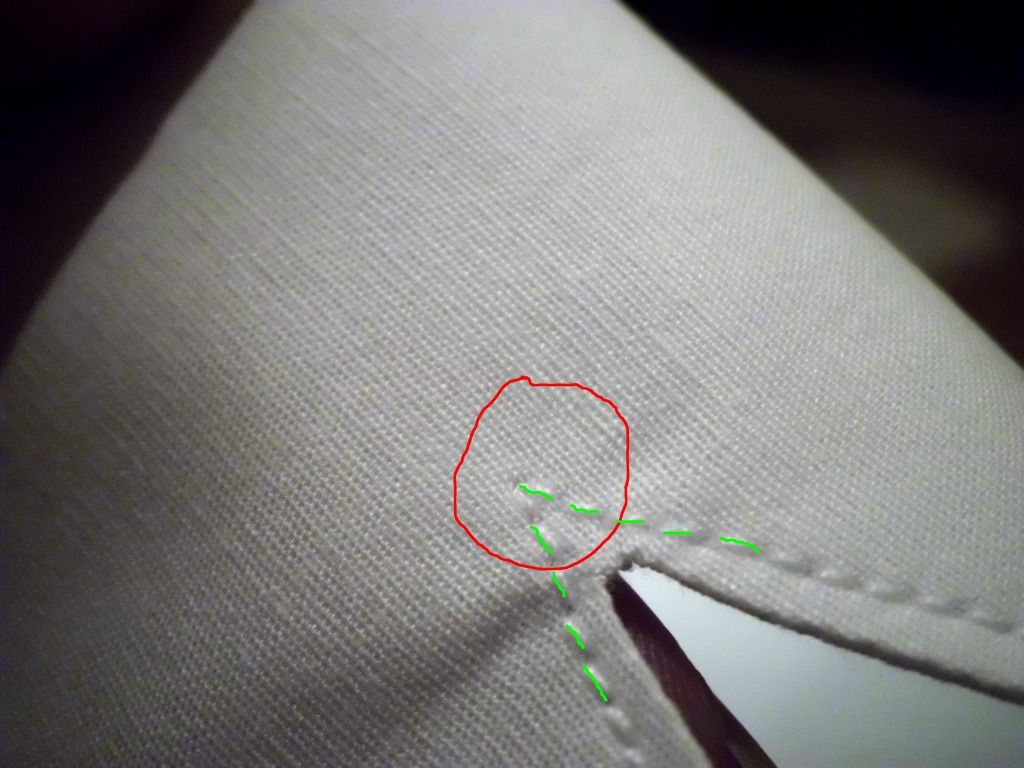
Point!
Do not take an extra stitch at the points when topstitching (highlighted in green)! Simply stitch right up to the point, leave your needle in the fabric, lift the presser foot, turn your fabric, set the presser foot down, and continue stitching. This is the topstitching so take your time and make sure it looks lovely!
Photobucket

7) Give everything a final press and you are done!