Showing posts with label Rapunzel's LookBook. Show all posts

Sunday, July 5, 2020

No Heat Curls Tested

Curls are cute!  Curls are volume!  Curls are oh so common in Lolita fashion and other dolly looks!  However, as somebody with naturally straight hair, curls just don't stay for me.  I've been testing out heatless curling techniques for ages, from covering my head in mini-buns (so difficult to sleep on) to using foam rollers (got the ends tangled) to heat styling with curling wands once by a hair stylist for a fashion show, and once at a salon for a tea party.  Neither professionals were able to keep my hair curled for a day. And that was not even curling my full hair length - I had my hair up in buns (think Sailor Moon hair, but with the pigtails only reaching my jawline.)

Since then, I've settled for just making waves by braiding my damp hair into two to five braids depending on how small I wanted the waves to be.  But still, I dream of curls~

I've tested this new method out four times now, and it has worked every time.  I used no hair products at all, so I'm sure you can get a neater or more voluminous effect with various fluffing sprays, styling hold mousse, curl enhancers, etc.

Monday, May 25, 2020

Fluffy Odango Hairstyle Without Teasing

Voluminous hairstyles are often achieved through copious amounts of teasing (backcombing), but it can damage fine or already-damaged hair even further!  It also requires careful brushing at the end of the day to untangle the teasing without tearing or breaking your hair.


This hairstyle can be done as a single fluffy bun, double odango (buns), or even half-up fluffy buns!  Though if your hair is long like mine, you may need to make two segments in the twintails when you do a half-up.  I will make a note in the instructions for this!

I found this to be quite easy, though I do suggest you use a mirror.  Because I was taking photos in the 3-season porch, I had no mirror ^^; That is why my hair ends up a bit messy, but I hope you can understand the main idea!

Tools:
  • hair ties
  • bobby pins
  • corkscrew pins (optional, but VERY helpful!)
  • hair decorations (ribbons, clips, pearls, scrunchies, etc.)

Directions:

Start by putting your hair up in twintails where you want the buns to be.  You can also do this as one large bun, or one or two half-up buns.

Tie another hair tie at the end of one ponytail.  If you have layers, try to tie it at the end of the shortest layer so you don't get frizzies.

If you have very long hair or are doing this as a half-up, you may need to tie two extra hair ties instead of one; tie the first halfway down the tail, and then the second towards the end.


Form a hole in the middle of the hair between the two hair ties and flip the ponytail end through two times.
Flipping


Once you have the ponytail flipped, grab small bunches of hair at the outside edges and gently pull to loosen the twisted hair, making it full and fluffy.  This is what gives you the volume! 


Now that you've got your desired fluffiness, form a bun as usual by wrapping the tail around the base elastic.  Make sure to tuck the tail in at the end so the straight parts don't show!


Secure your bun either with a corkscrew shape pin, or with several bobby pins.  The corkscrew shape is really easy to use and secure!  It also allows me to use more bobby pins for the fine-tuning later as they won't be fighting for space with all the other bobby pins I'd have to use just to secure the bun if I didn't have the corkscrew one!


Almost done!  Sorry this photo is difficult to see detail, but dark hair is difficult to photograph and I don't have a hair light >_<;;

Pull and arrange the fluffy bits of your bun to a shape you like and secure it with bobby pins.  I used brightly-colored hair ties to make them easy to see, so I had to make sure to cover them up with my hair fluff.  Of course it is better to use hair ties that are clear or match your hair color!


If you do not use a mirror, you may end up looking a bit wonky like this:

Decorate with whatever you like!  I tend to use lacy scrunchies as they help cover up any tails or elastic I failed to hide, are quick and easy and secure, and I feel like they help hold the buns in place as well.

This is a nice hairstyle for warmer months if you want to keep your hair off your neck.  I find that this is both faster and fluffier than doing a braided bun as the braiding takes more time, and even with fluffing, the braid is flatter that this flipped version.

Experiment with pearls or gems on pins, ribbons woven in, clips, hair combs, etc.  Remember that you can also add cute clips or colored hair pins to the back of your head!  Or perhaps a light veil or trailing crystals?  Use your creativity!

Please let me know if this was helpful at all!  I originally had filmed it as a video but the footage was unclear and I couldn't edit it to make it better so I redid it as a photo tutorial instead.  Thank you for reading and commenting as always! Let me know if you have any fun ideas for how to decorate odango looks :3

Thursday, August 9, 2018

Chinese Style Hair Tutorial

In preparation for this month's Lolita meetup, I've been doing a bit of history and also just watching historic cosplayers' tutorials.  Many hairstyles require false hair bits (I've used those before in my dance troupe for performances) but I found one that could work for Lolita fashion.  I've worn my hair is similar ways before, but this time I loop the tail end of the twintails back to be more historically accurate (and cute!).  I braided my hair as it the texture holds the shape better, but the historic cosplayer I saw did the hairstyle without braiding it, so mine is a modern take.
You can't even see the buns because my hair accessories are so large
I also made video tutorials for this style!  There are two ways to do it depending on how long your hair is ^u^  Currently my hair is only medium-long so I do it the "cheating" way

Wednesday, March 22, 2017

Rapunzel's Lookbook~ Heatless Waves

I love adding texture to my super straight hair, but don't like using heat stylers.  I also have rather long hair (which I recently cut, as mentioned in my previous post) so in these photos my hair is over 60cm long!

Many curl patterns don't work on such lengths of hair, but here is one I've been using since grade school that has always worked well for me and is easily adjustable to all lengths of hair and a wide variety of looks!

Today I opted for looser waves

 Materials:
*hair binders


Tuesday, August 28, 2012

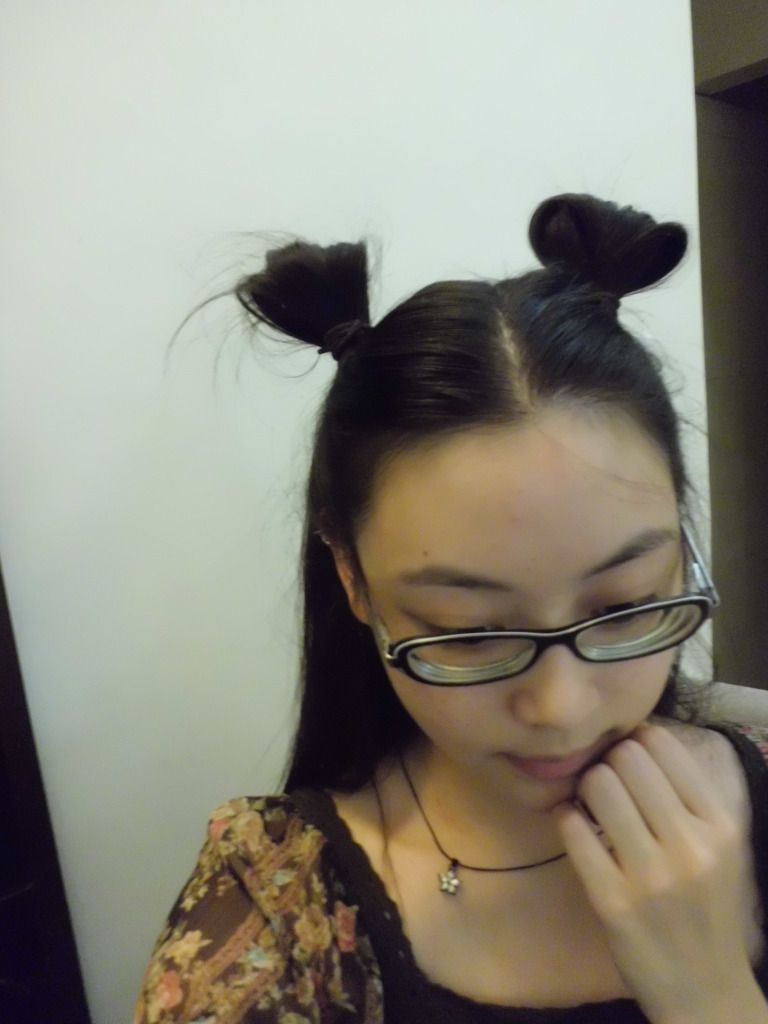
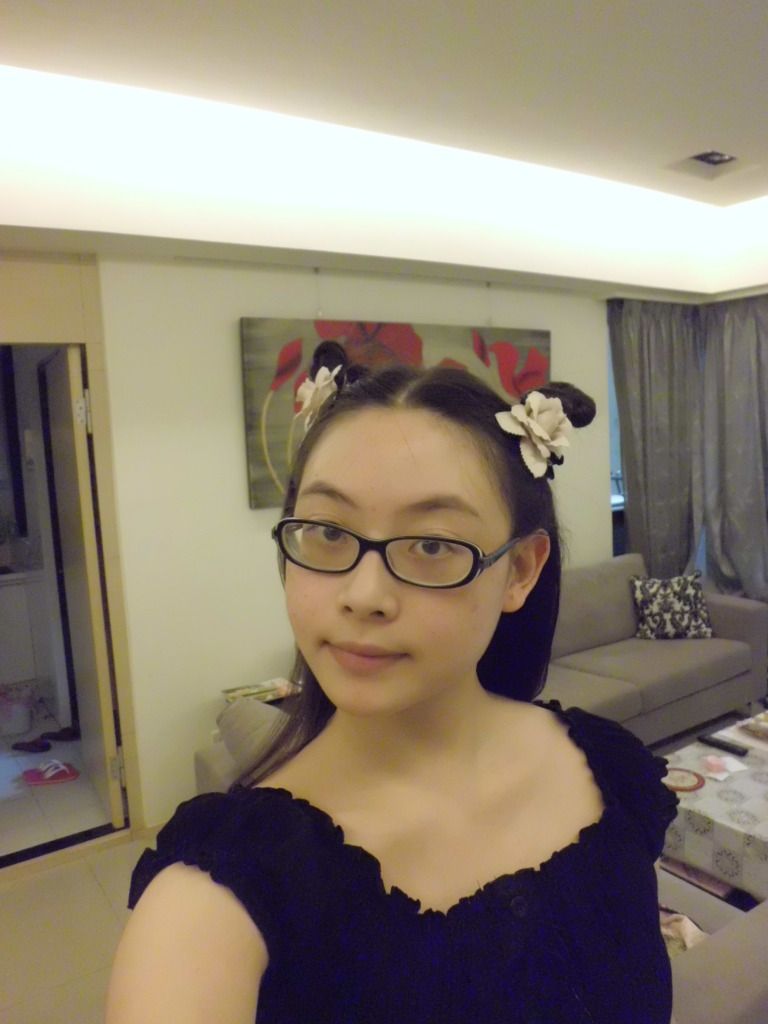
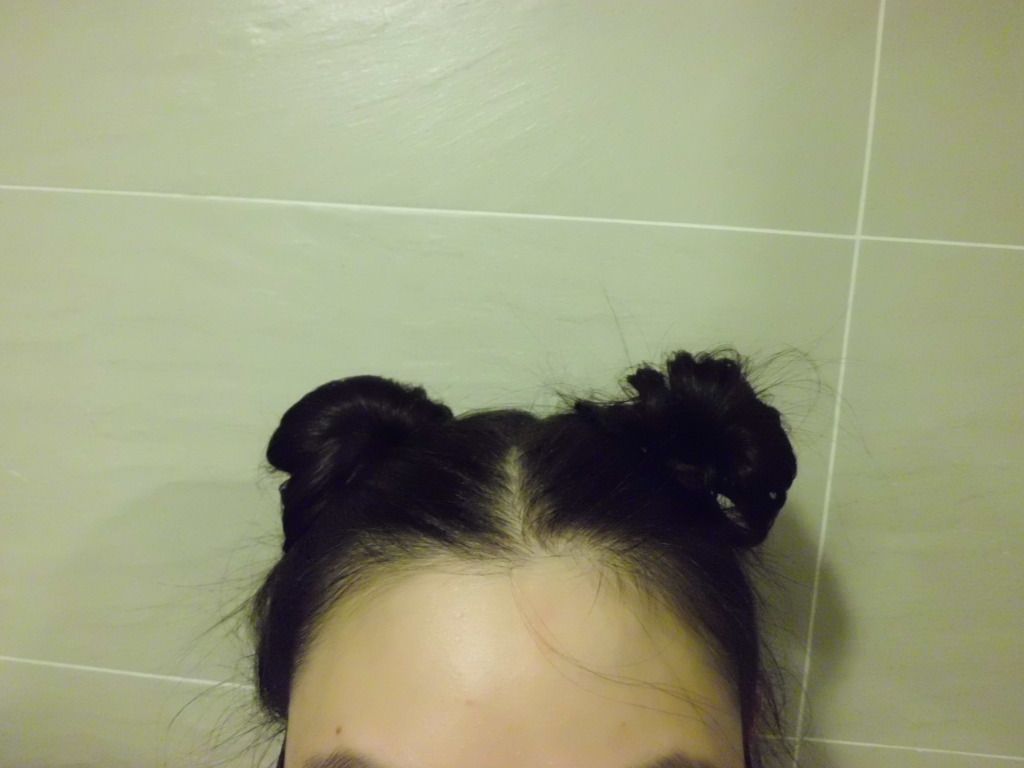
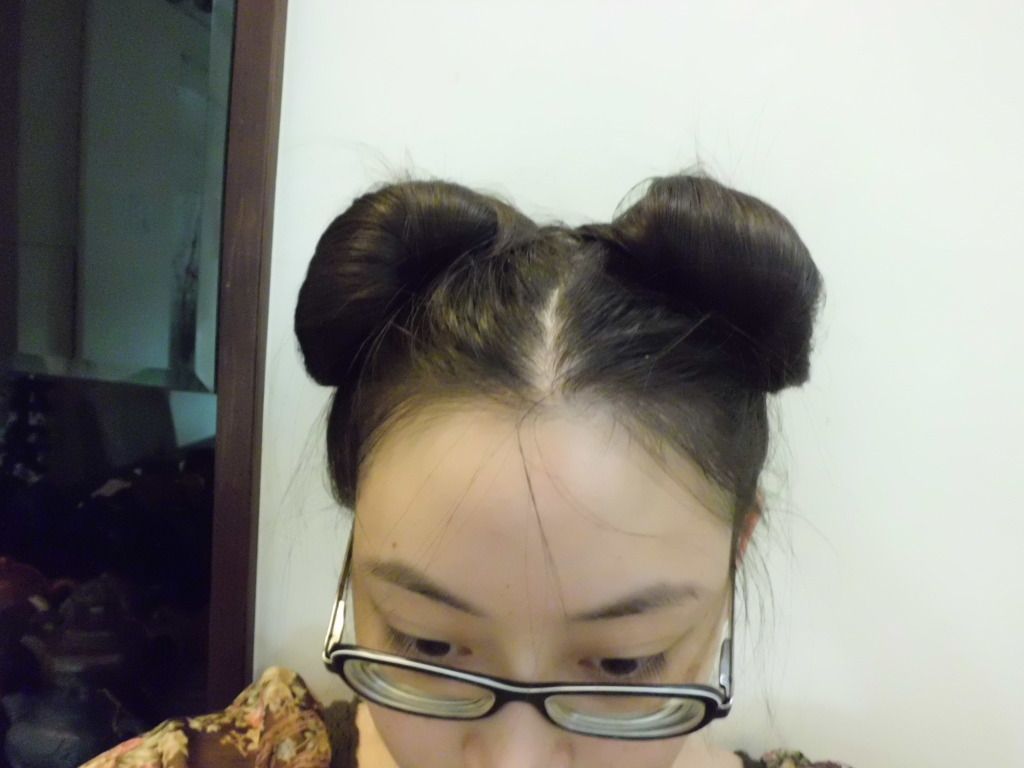
Rapunzel's Lookbook~ Animal Ears!

While animal ears are often considered too "cosplay" for Lolita, that hasn't stopped Brands from making animal ear headdresses. I personally prefer not to wear animal ears, even though they are so cute! But yesterday I was playing with my hair to make animal ear hairstyles~ I have actually worn some of them out before :P

The photos may not be so great because I was only messing around, but here are some of the hairstyles I've done:
Lamb Ears
Photobucket
Pretty self-explanatory from looking at the picture. Make two half-pigtails and pull the hair only partially through the hairbinder to create a loop.


Deer Horns (ok so they're not ears, but it's similar!)
Photobucket
Make two half pigtails. Twist them tightly and fold in half. Secure with another hair binder.
Please note that they won't stand very straight if you make them too tall! Use bobby pins to secure the angle.
Here is an old photo from when I actually wore these as a part of an outfit:
Photobucket
Front
Photobucket
Back

Bunny Ears
This look is very similar to the Deer Horns, but are taller. I definitely thing that they need a hair accessory to prevent them from looking too "theme-y"
DSC08732
Here, you can see how they peek out from behind the hair ribbon
Photobucket
A side view to show the height (this was after the meetup, so it is sort of an ugly photo!)
It is done the same way as Deer Horns, but make them taller and after folding the twisted pigtail down, wrap it around the base of the ear to make a wider, more stable base. Secure it with bobby pins.

Bear Ears - small
I think this is sort of cute and fun! I would want to try it again with hair wax or some other type of styling product in order to keep the hair smooth, though.
Photobucket
It is done like Lamb Ears with the "ears" then fanned out and pinned down on either side to creat half-circles.

Bear Ears - large
Photobucket
This one is a little more complex.
Put your hair into high pigtails. Make a hole between the binder and your scalp. Pull the pigtails from BACK to FRONT. Tie a hairbinder to the END of the pigtail (this keeps the frizzies to a minimum). Now roll your hair from FRONT to BACK, which will creat a tube on your head. Secure it with bobby pins. Fan out the tube into a half-circle and secure with bobby pins.
There is another method I am thinking of trying for these ;)

If the instructions are difficult to understand, I did take in-progress photos and can make a separate, more detailed post for any of these.

Do you like animal ears in Lolita, or do you think they look too cosplay? I think animal accessories, such as usamimi, are really cute! They are sweet for themed outfits (like a bunny-theme outfit with bunny ears). Hopefully using hairstyles will find a nice balance between cosplay and fashion!

Sunday, July 1, 2012

Change it Up! On Removable Hair Pieces

Hairstyles make a big impact on the overall look of an outfit. The cut, styling, and accessories can completely alter the way your coordinate looks, or even the way YOU look!

I've been contemplating getting a feathered hime cut for the past two years. While a hime cut is a staple in Lolita fashion, I was afraid I would hate the look on me, get annoyed with having something on my face, and/or be unable to keep up with the trimming!

Finally, I decided to buy clip-on bangs with the last wig group order we had. They were very cheap (around US$3-6 I think) but have passed as real hair. Clip-on bangs tend to be able to get away with cheaper fibers because you can blend it with your real hair. The surface area is also much smaller than falls, extensions, or a full wig, so even if the fibers are a bit shiny, there won't be as many of them to catch the light the wrong way.

I wore the bangs for the first time when filming a Lolita short for my schoolmate's class project (unfortunately, most of the girls involved in filming have requested to not have the film posted anywhere, so I cannot share it!)


Photobucket
This is how I look with bangs and my hair down.

Photobucket
This is with my hair in pigtails!

There are actually longer pieces at the sides, but they have blended into my natural hair so cannot be seen.

I think I look quite different compared to my normal, bangless state! I like both looks, so I won't be cutting my hair, but will definitely wear these bangs more!

They do need a bit of a trim on one side ;) The hairs kept poking me in the eye so I had to brush them out of the way, which is why there is a slight gap.

Removable hair pieces are awesome because they are not as expensive or hot as full wigs, don't need to be sewn or glued in like extensions, and provide quick, easy changes in look! Being able to blend your natural hair in with the fibers also makes them look much more real. KAMIKO has a pair of curly hair falls she wears over her natural, curled pigtails. When the falls and her natural hair are mixed together, it is near impossible to tell she is wearing falls!

Have you ever tried removable hair pieces? Or do you prefer to just take some scissors and chop away? Hair grows back, so it's really not a big deal ;) I would love to know about others' experiences!

P.S. I changed my header :) The background is of a mountain in Taiwan that I visited when I was in the summer camp I joined when I first arrived here. It was quite beautiful!!

Saturday, September 24, 2011

Rapunzel's LookBook

Recently I received a comment about the fact that I don't style my hair or wear makeup enough. While that may be somewhat true, a part of the reason is because I simply don't take photos of my experimental hair styles :P

So I am going to start a collection series of what I do with my hair. Even if it ends up not looking good XD Maybe it will end up inspiring some of you to try something that DOES look good! When I am bored I like to scour the Internet looking for new things to do with my hair. It is difficult to style my hair for a variety of reasons:
1) I don't use heat stylers. At all. No curling irons, straighteners, crimpers, etc. When you see my hair curled, it's because I used sponge curlers and slept in them overnight ;D
2) I don't use hair styling products. I could count the number of times I've used hairspray on one hand! My current idea of "using product in my hair" is using leave-in conditioner to make my hair soft and smooth :D
3) I prefer not to backcomb. Backcombing hair is quite damaging. It does give a lovely amount of volume, but I only backcomb my hair for special occassions and meetups. In this series, I plan on doing DAILY looks, so probably no backcombing in sight!

As you can see, that eliminates the vast majority of Lolita hair tutorials D: What can I say? I am too picky! Perhaps I am too stuck on the idea of "natural" beauty, but that is simply my style :P Braids will most likely be featured prominently in the future~

I hope this series can become useful in the future! And hopefully help me track some progress and ideas :D

Photobucket
Follow me!

Click on photos to make them bigger!

Photobucket Double French Braid Pigtails. Very simple if you know how to French braid. I am terrible at it, but practicing! Dress it up with cute hair ties ♥ I am using Strawberry hair ties here because I was wearing a strawberry skirt.
Point! A good variation on this style is to loop the pigtails back up if your hair is long enough!

Photobucket
Photobucket
This is a similar style, but on the side. French braid one side to the ear, then braid the other side in a wraparound style to meet with the first braid and braid them together. It takes a bit of practice to learn how to wrap the braid around your head. A mirror will be very helpful!!

Photobucket
Photobucket This one is super simple. Make a low side ponytail, create a hole above the ponytail holder, and flip the ponytail through. Decorate with hair corsages or ribbons of your choice. The flower clips pictured here are from Surface Spell on taobao.com! I got 10 of them and they are so handy!

So these first three are quite simple, but in the future I want to post more of my hair "experiments" here ^0^v
If there are any questions, suggestions, tutorial requests, etc. please let me know in the comments!
Most of the natural long hair styles I have seen are historic reenactment styles which would work nicely for Classical Lolita, but I am hoping to find more cute or sweet styles, so if you have any pictures, links, ideas, please send them my way!